

Saturday, October 31, 2015
Saturday, October 3, 2015

Tuesday, September 22, 2015

Saturday, September 19, 2015
DIY Upside Down Tomato

Advantages to vertical gardening:
- Saves space - A traditional horizontal garden has boundaries and limitations. In a vertical garden - the sky's the limit to potential gardening space!
- Easier harvest - Usually at eye level instead of kneeling, bending, etc...
- Healthier plants / Bigger harvest - Many plants are susceptible to soil borne diseases. Bringing the vines or plants up off the ground, decreases the risk of disease and improves the air circulation which contributes to a healthier plant and a larger bounty.
Growing tomatoes vertically usually refers to using a trellis, arbor, or similiar structure to train or support indeterminate or "vining" tomatoes. Another option in growing tomatoes vertically would be using containers to free up the ground space. A "bush" or determinate variety is a better choice for container tomatoes because of its compact size (3-4' height). Most of the advantages of growing tomatoes in containers have to do with the ability to control of the quality of the soil. - The majority of tomato diseases are derived from a fungus, virus or other contaminant in the existing garden soil. Using a high quality "soil-less" growing medium in the container, will decrease the chance of diseased plants.
The flip-side of a vertical container would be to literally grow the plant upside down! Topsy-Turvy upside down tomato planters have been around since 2005, but I wasn't really interested in trying this container. It just seems a little too small for even a compact tomato variety. I had seen larger versions of this concept using 5 gallon buckets - so that's the option I chose...

Next I cut a circle out of landscape cloth to fit in the bottom of the bucket. - I cut an X in the cloth and pushed the young tomato plant through the bottom of the bucket's hole. I decided a "roma" tomato would be a good variety for the upside down container. - It's a determinate or compact plant with stronger stems.

The tomato started off great. - It looked healthy and was producing a lot of green fruit. Then around sometime in July - I forgot to water it for a few days and realized just how quickly the container would become completely dry. I thought the plant was beyond help, but with consistent watering it revived and I harvested tomatoes into September.

- It worked (much to my surprise)...
- It's a great option for a limited space.
- If you have poor soil, you might have better luck at growing tomatoes in containers. My property is full of Walnut trees and it's impossible to grow tomatoes. - Black walnut trees produce a toxin, juglone, that is released into the soil and the tomato plants develop "walnut wilt" and die.
The downside:
- Requires frequent watering.
- Frequent watering depletes the nutrients in the soil.
- If you grow vegetables solely for a harvest, it's a great option. If you also want an aesthetically pleasing garden, a 5 gallon bucket container might not appeal to you...

If you like bird watching - as much as gardening - I invite you to follow my Facebook page and visit my Etsy shop!
Rebecca's Bird Gardens - Facebook
Rebecca's Bird Gardens - Etsy
Check out more garden blogs at:
GBBD
Simple Saturdays

Friday, September 18, 2015
Tuesday, September 1, 2015
Facebook Giveaway! - Glass Bottle Bird Feeder!
Facebook Giveaway!!
Over 1000 sales in the Etsy shop! - Head over to our Facebook page: "Like" the page, leave a comment and your email address (here's the link: Rebecca's Bird Gardens - Facebook) and you'll be entered in a giveaway of your choice of a glass bottle birdseed or hummingbird feeder! Leave a comment on this post for an extra chance to win! In one week (9/8/2015) a winner will be randomly chosen. Check out all of the glass bottle feeders in our shop! Rebecca's Bird Gardens - Etsy

Wednesday, August 19, 2015
Thursday, July 30, 2015
Friday, May 8, 2015
DIY Vertical Pallet Garden
I recently did a presentation on vertical gardens as part of a series of gardening classes offered by my local Master Gardener chapter. While preparing for this class, I researched the history of vertical gardening from grapevines and espalier trees to modern day hydroponic and bio walls... In current day gardening - sustainability, self sufficiency and growing your own food are the top trends. However, there has also been a decreasing size of yards and garden plots. Growing up instead of out - just seems to make sense...

Choosing a Pallet:
 If you're using the pallet for edibles, make sure the letters "HT" are included on the pallet's stamp. This stands for "heat treated" instead of using chemicals to preserve the wood. Also pallets come in a variety of shapes and sizes. Make sure the slats are positioned evenly with enough space between to allow for a planting area. The pallets are usually pine or oak. - The oak pallets are extremely heavy after the soil and plants are added. I would opt for a pine pallet for a edible garden, maybe oak for an decorative garden...
Supply List:
Stand the pallet upright and position it where you want it to be as a finished garden. - It'll be very difficult to relocate it once the soil and plants are added.
Add moistened potting through the top opening of the pallet. I used a broom to help pack the soil down into all the areas of the pallet.
Lay the pallet down horizontal and cut rectangular slits in the openings between the slats. I planted a variety of cool crop seeds: lettuce, spinach, kale. My intention was to leave the pallet horizontal until I wanted to plant summer crops: tomatoes, peppers, etc... Then I could still harvest salad greens, but free up garden space for additional plants.
Leave the pallet horizontal for 2-4 weeks to allow the roots to become established.
After 3 weeks my seeds had formed plants and roots capable of keeping the soil in place when I brought the pallet into the upright position.
I also made a vertical pallet garden to display the variety of sedums and succulents that I use in the living roofs and vertical planters I sell at our local farmers' market. For this garden I used an oak pallet, but cut in down in size - because of the weight... I prepared it in the same fashion as my edible pallet, but instead of adding landscape cloth to the inside of the pallet, I screwed a scrape piece of wood to the front of the pallet. - This allowed me to fill the pallet with soil from the top while it was in a vertical position. I also added a board to the bottom of the pallet to make it more of a solid structure. A temporary board screwed to the top of the pallet helped to keep the soil in place until the planter was upright.

After I planted the sedums, I kept the pallet horizontal for 2 weeks to allow the roots to become established. Once the pallet was vertical, I removed the temporary board from the top and added more sedums to this open portion.
I was surprisingly pleased at how well this project turned out. - It's a fast, easy and inexpensive way to make a unique and functional wall garden. I have found that it's somewhat difficult to water. The planter is too heavy and awkward in handling to lay it horizontal and a lot of the water runs off the pallet when watering it in the vertical position. Even with it's downfalls, I'm still in favor of this vertical garden and I'll probably be making more in the future...

Advantages to vertical gardening:
- Saves space - A traditional horizontal garden has boundaries and limitations. In a vertical garden - the sky's the limit to potential gardening space!
- Easier harvest - Usually at eye level instead of kneeling, bending, etc...
- Healthier plants / Bigger harvest - Many plants are susceptible to soil borne diseases. Bringing the vines or plants up off the ground, decreases the risk of disease and improves the air circulation which contributes to a healthier plant and a larger bounty.
Choosing a Pallet:

 |
Craigslist: Wooden pallets - pine, oak and plywood
Graded prices: $2 - $3 - $4 ($7 to $10 for larger ones)
|
- Landscape cloth - I used Preen Landscape Fabric
- Staple gun and a lot of staples!
- High quality potting soil
In the larger pallet, I stapled a double thickness of landscape cloth to the inside of the pallet. I saw this demonstrated on Growing a Greener World. - This step makes it easier to add the soil to the pallet.

Next staple a double thickness of the landscape cloth to the outside back and bottom of the pallet - leaving the top open.

Next staple a double thickness of the landscape cloth to the outside back and bottom of the pallet - leaving the top open.
Stand the pallet upright and position it where you want it to be as a finished garden. - It'll be very difficult to relocate it once the soil and plants are added.
Add moistened potting through the top opening of the pallet. I used a broom to help pack the soil down into all the areas of the pallet.
Lay the pallet down horizontal and cut rectangular slits in the openings between the slats. I planted a variety of cool crop seeds: lettuce, spinach, kale. My intention was to leave the pallet horizontal until I wanted to plant summer crops: tomatoes, peppers, etc... Then I could still harvest salad greens, but free up garden space for additional plants.
Leave the pallet horizontal for 2-4 weeks to allow the roots to become established.
After 3 weeks my seeds had formed plants and roots capable of keeping the soil in place when I brought the pallet into the upright position.
I also made a vertical pallet garden to display the variety of sedums and succulents that I use in the living roofs and vertical planters I sell at our local farmers' market. For this garden I used an oak pallet, but cut in down in size - because of the weight... I prepared it in the same fashion as my edible pallet, but instead of adding landscape cloth to the inside of the pallet, I screwed a scrape piece of wood to the front of the pallet. - This allowed me to fill the pallet with soil from the top while it was in a vertical position. I also added a board to the bottom of the pallet to make it more of a solid structure. A temporary board screwed to the top of the pallet helped to keep the soil in place until the planter was upright.

After I planted the sedums, I kept the pallet horizontal for 2 weeks to allow the roots to become established. Once the pallet was vertical, I removed the temporary board from the top and added more sedums to this open portion.
I was surprisingly pleased at how well this project turned out. - It's a fast, easy and inexpensive way to make a unique and functional wall garden. I have found that it's somewhat difficult to water. The planter is too heavy and awkward in handling to lay it horizontal and a lot of the water runs off the pallet when watering it in the vertical position. Even with it's downfalls, I'm still in favor of this vertical garden and I'll probably be making more in the future...
Thursday, April 30, 2015
Rebecca's Bird Gardens in Country Gardens!
Last spring (May 2014) on a cold rainy day - Country Gardens Magazine came to our property and shot a series of photos on the construction of our living roof birdhouse and a DIY project of our glass bottle bird feeder.
So much fun!
Check out the article in the spring issue 2015 and on line at these links:

So much fun!
 |
| Art Director Nick Crow and Rebecca |
 |
| Photographer Karla Conrad - Art Director Nick Crow |
 |
| Olive the grandkitty - wouldn't know how to harm a bird... |
 |
| Writer Marty Ross |
Tuesday, March 10, 2015
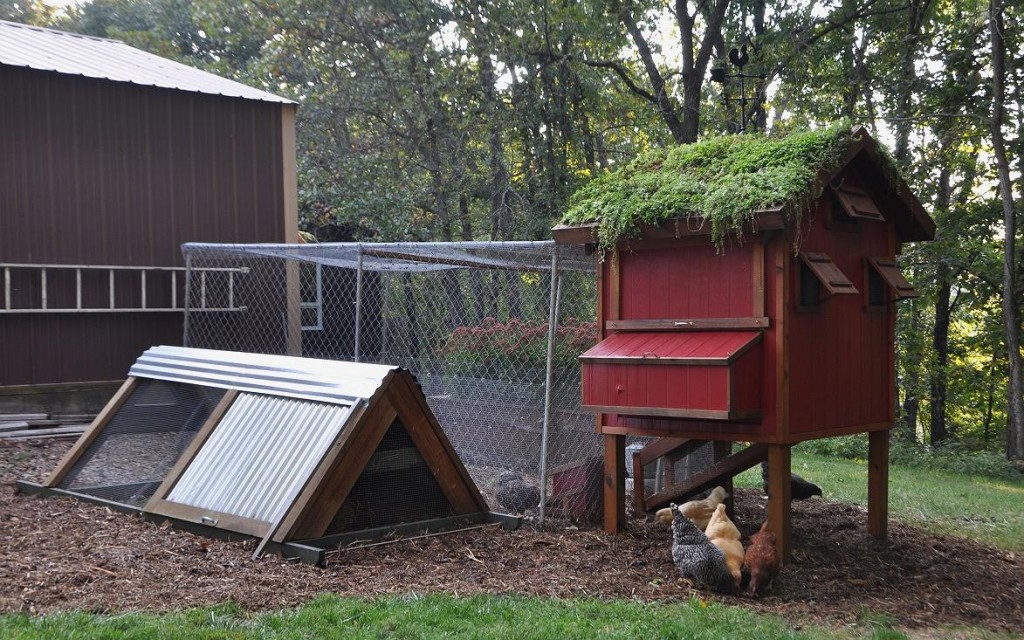
Rebecca's Bird Gardens - DIY living Roof Birdhouse

Book Review: A Kid's Guide to Keeping Chickens ~ and a Giveaway!

I have followed the blog, Tilly's Nest, for years. It's a great resource for anyone wanting to enter the world of backyard chickens - DIY projects, chicken keeping tips and advice, stories and photos of an endearing flock... The chicken keeper behind the blog is Melissa Caughey. I feel that we're kindred spirits - nurses, gardeners, mothers - and we love our chickens. ♥
In addition to her blog, Melissa contributes to HGTV Gardens, Community Chickens, Grit Magazine and Country Living Magazine - and now she has written a wonderful book, A Kid's Guide to Keeping Chickens (Storey Publishing).
When my family undertook our first flock of day old chicks, I had no idea what an impact it would make on our daughters. Raising and growing your own food is such a good example to children (actually anyone) on not only where your food comes from, but also how important it is to humanely treat and respect the animals that provide our nourishment.
Here are some of my favorite features of this book:
- It includes the basics of chicken keeping: the set-up, choosing a breed, how to care for chicks and the flock.
- It's written for families considering adding backyard chickens to the mix. - Specifically how kids can contribute to the care of the hens, chores around the coop, etc...
- There are several DIY projects, crafts, recipes.
- The layout, photos, illustrations and articles are eye catching, creative and easy to read. - Kids of any age will love this book.
- The book includes interviews from kids on their perspective of chicken keeping - favorite breed, advice they'd give, their favorite part of having backyard chickens, etc...

- What do you love about keeping chickens?

Grace: Fresh eggs for breakfast and I love seeing them run around the yard!
When I give my presentations on "Gardening with Chickens" - through my local Master Gardener chapter - I always have families in the class that have so many questions on the basics of chicken keeping - and how to involve their children in the adventure. This book will definitely be recommended and added to my list of resources.
- Do you have a favorite breed and why?
Grace: Easter Eggers - I love the green eggs (egg shells / not the eggs)!
- What is your favorite thing about chickens?
Grace: They are not just birds or farm animals, they are family pets...
- Do you have any advice for other kids just getting started?
Grace: Play with them from the beginning as day old chicks. - They'll be much tamer when they're large hens.
As for the DIY projects that she includes, the "Chicken Fort" is my favorite! As a gardener and mom, I can only imagine the hours of entertainment this project would provide the kids and the flock!
 |
| Storey Publishing - A Kid's Guide to Keeping Chickens |
Now here's the good part! Storey Publishing is conducting a blog tour promoting the release of this book. Not only did they send me a copy, they are going to send a copy to one of my readers. To enter this contest simply leave a comment below - including your email address - and in 2 weeks (March 24) I'll randomly choose a winner (US residents only). You can increase your chances of winning a book by visiting the blogs listed below. Good luck!
Tuesday, March 10th:
the garden-roof coop - that's me!
Wednesday, March 11th:
Farmhouse38
Thursday, March 12th:
Iron Oak Farm
Monday, March 16th:
Dandelion House
Tuesday, March 17th:
Louise's Country Closet
Wednesday, March 18th:
Chicken Art
Thursday, March 19th:
The Chicken Chick
 |
| My kids - Grace & Lydia ~ Our chicks - day old Buff Orpingtons ♥ |
Follow Melissa's blog and flock by visiting these links:
I invite you to follow my Facebook page to see the products available in our Etsy shop, my DIY projects and more photos of my backyard birds (including chickens!).
Thursday, March 5, 2015
Facebook Giveaway!
Over 4000 "likes" on Facebook! - Time for a Giveaway!
Leave a comment on my Facebook page (this link) and in 1 week (March 8) I'll randomly choose a winner. They will then get to choose a glass bottle bird feeder, "The Bistro" from our Etsy shop! - Share our page and this giveaway with all your bird-loving friends!!
https://www.etsy.com/shop/RebeccasBirdGardens…
Monday, December 29, 2014


Monday, November 10, 2014

Tuesday, October 7, 2014

Wednesday, May 7, 2014

Tuesday, April 22, 2014

Saturday, April 12, 2014


Sunday, March 23, 2014

Friday, February 14, 2014

Monday, February 10, 2014

Monday, February 3, 2014

Tuesday, January 28, 2014

Friday, January 24, 2014


Subscribe to:
Posts (Atom)
LinkWithin
